Creating Your First Workflow
Select the Workflows tab from the sidebar, and click Create New Workflow. Give your Workflow a name, and then name your Input object (for most workflows, the Input is a Customer, but you can also use Transactions, Applications, or whatever you want). When you're ready click Next.
If this is your first time creating a Sliderule workflow, you may see some helper instructions. You can click Next to proceed.
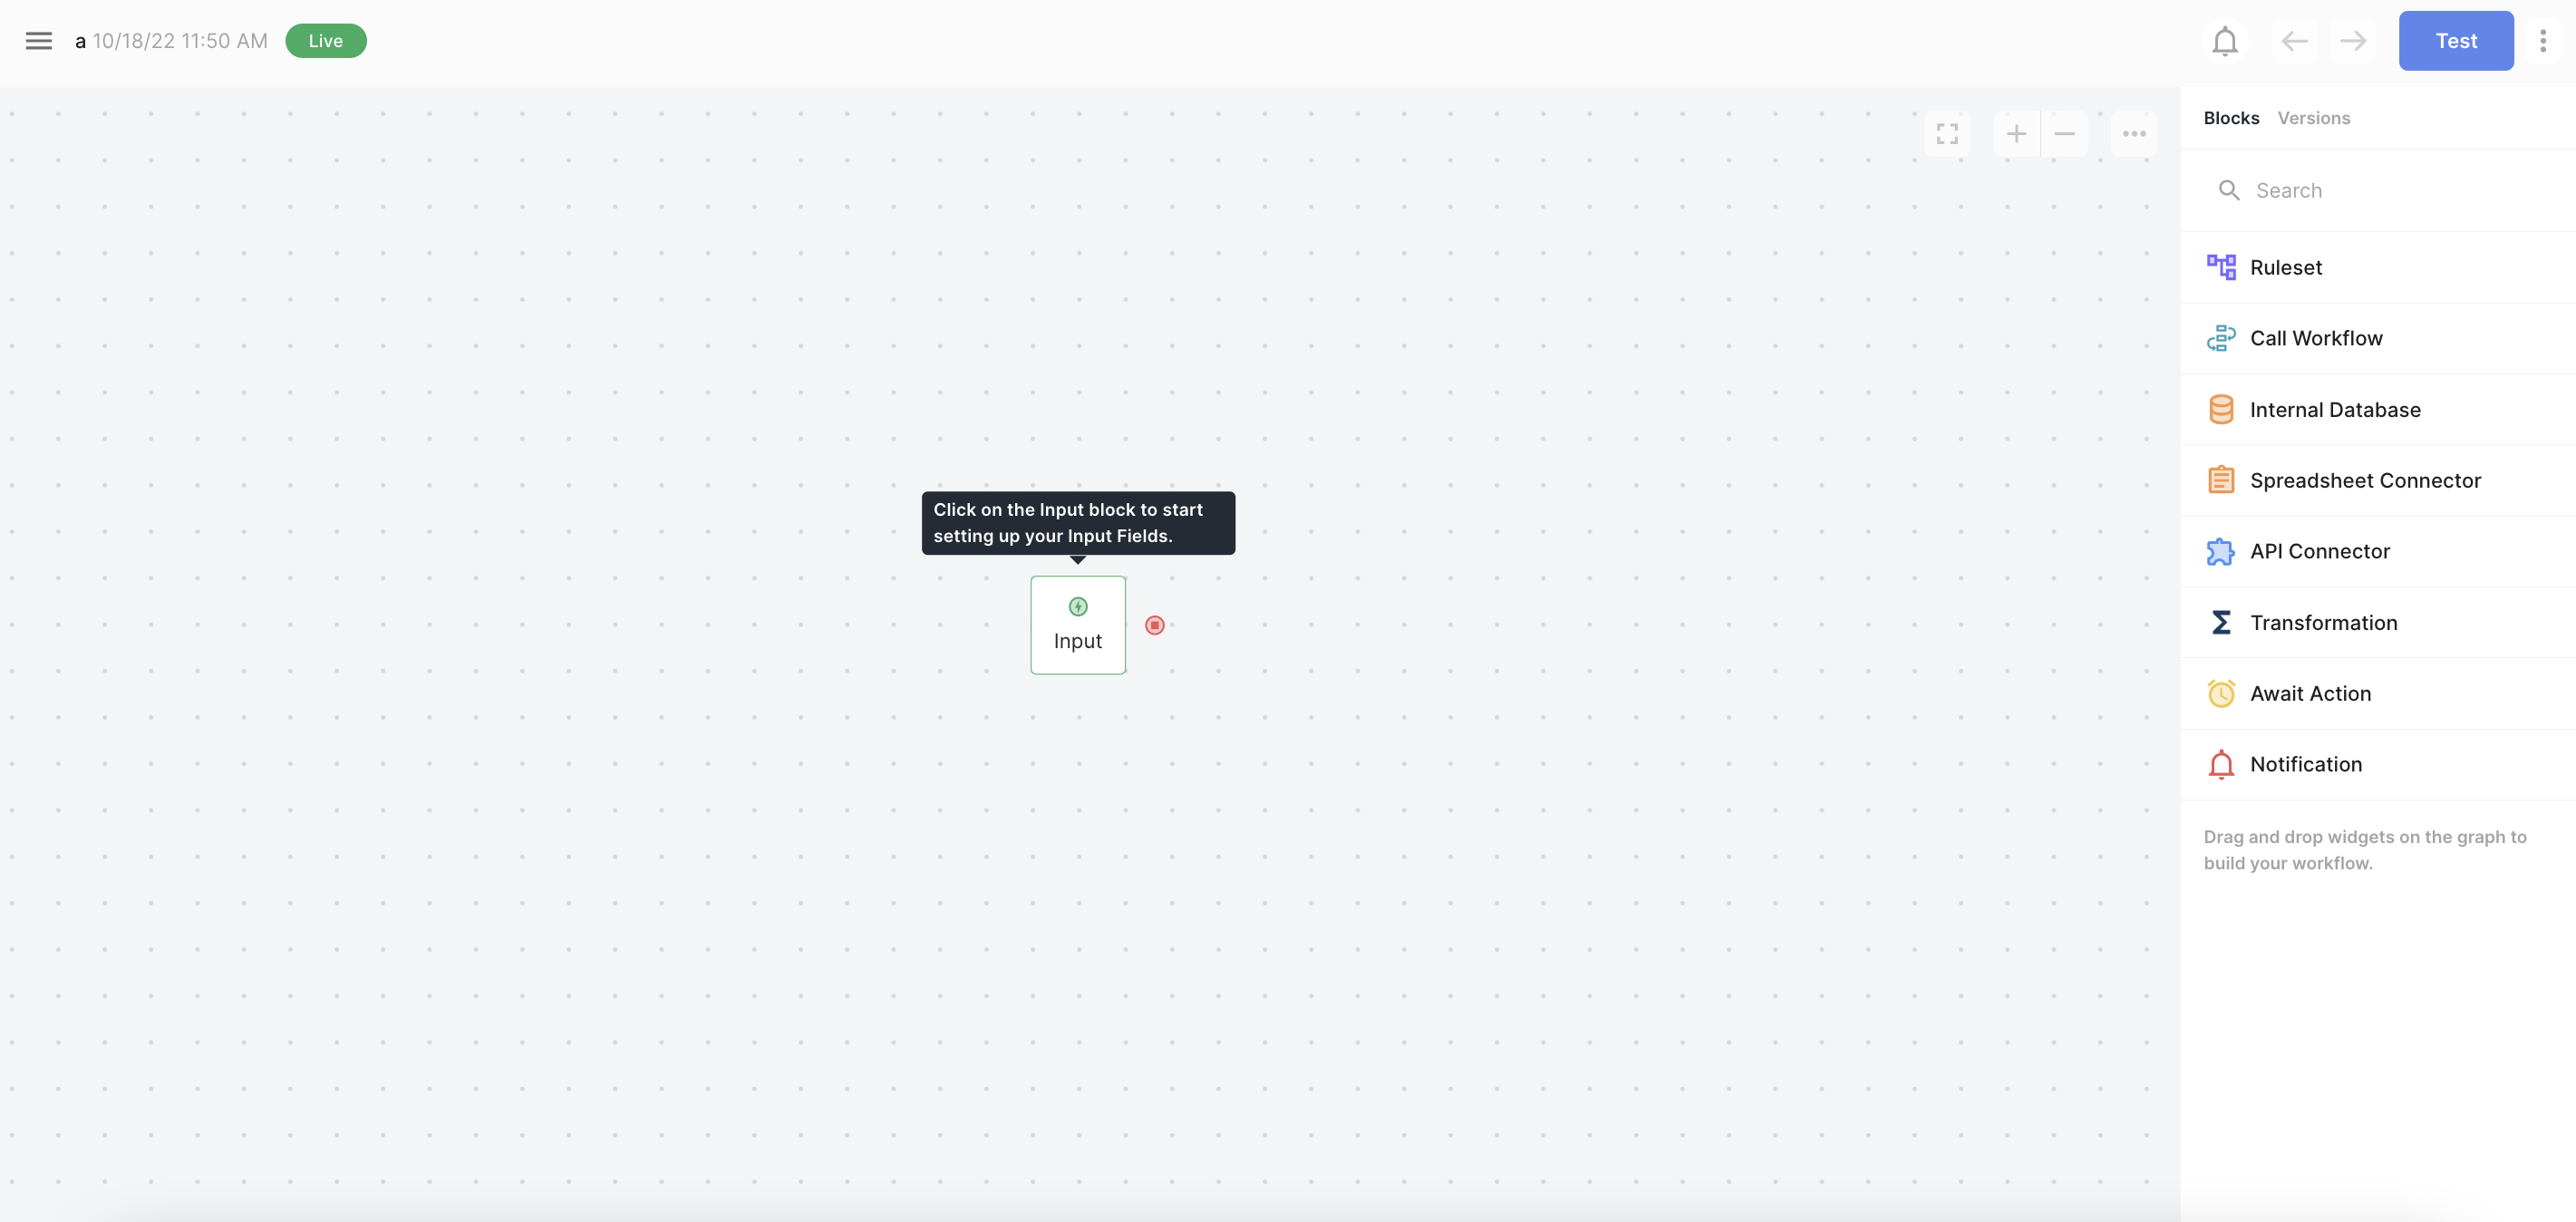
You'll end up with a basic Workflow with an Input block and nothing else. Now, let's get oriented!
The middle of the Workflow Editor is taken up by the Graph. This is the visual display of how your Workflow will progress. You can add new Logic Blocks from the Blocks Drawer on the right of the Graph.
Clicking a Block on the Graph will bring up its Details Panel, which lets you customize the Block. Let's start by clicking the Input block.
Set up your Input Fields
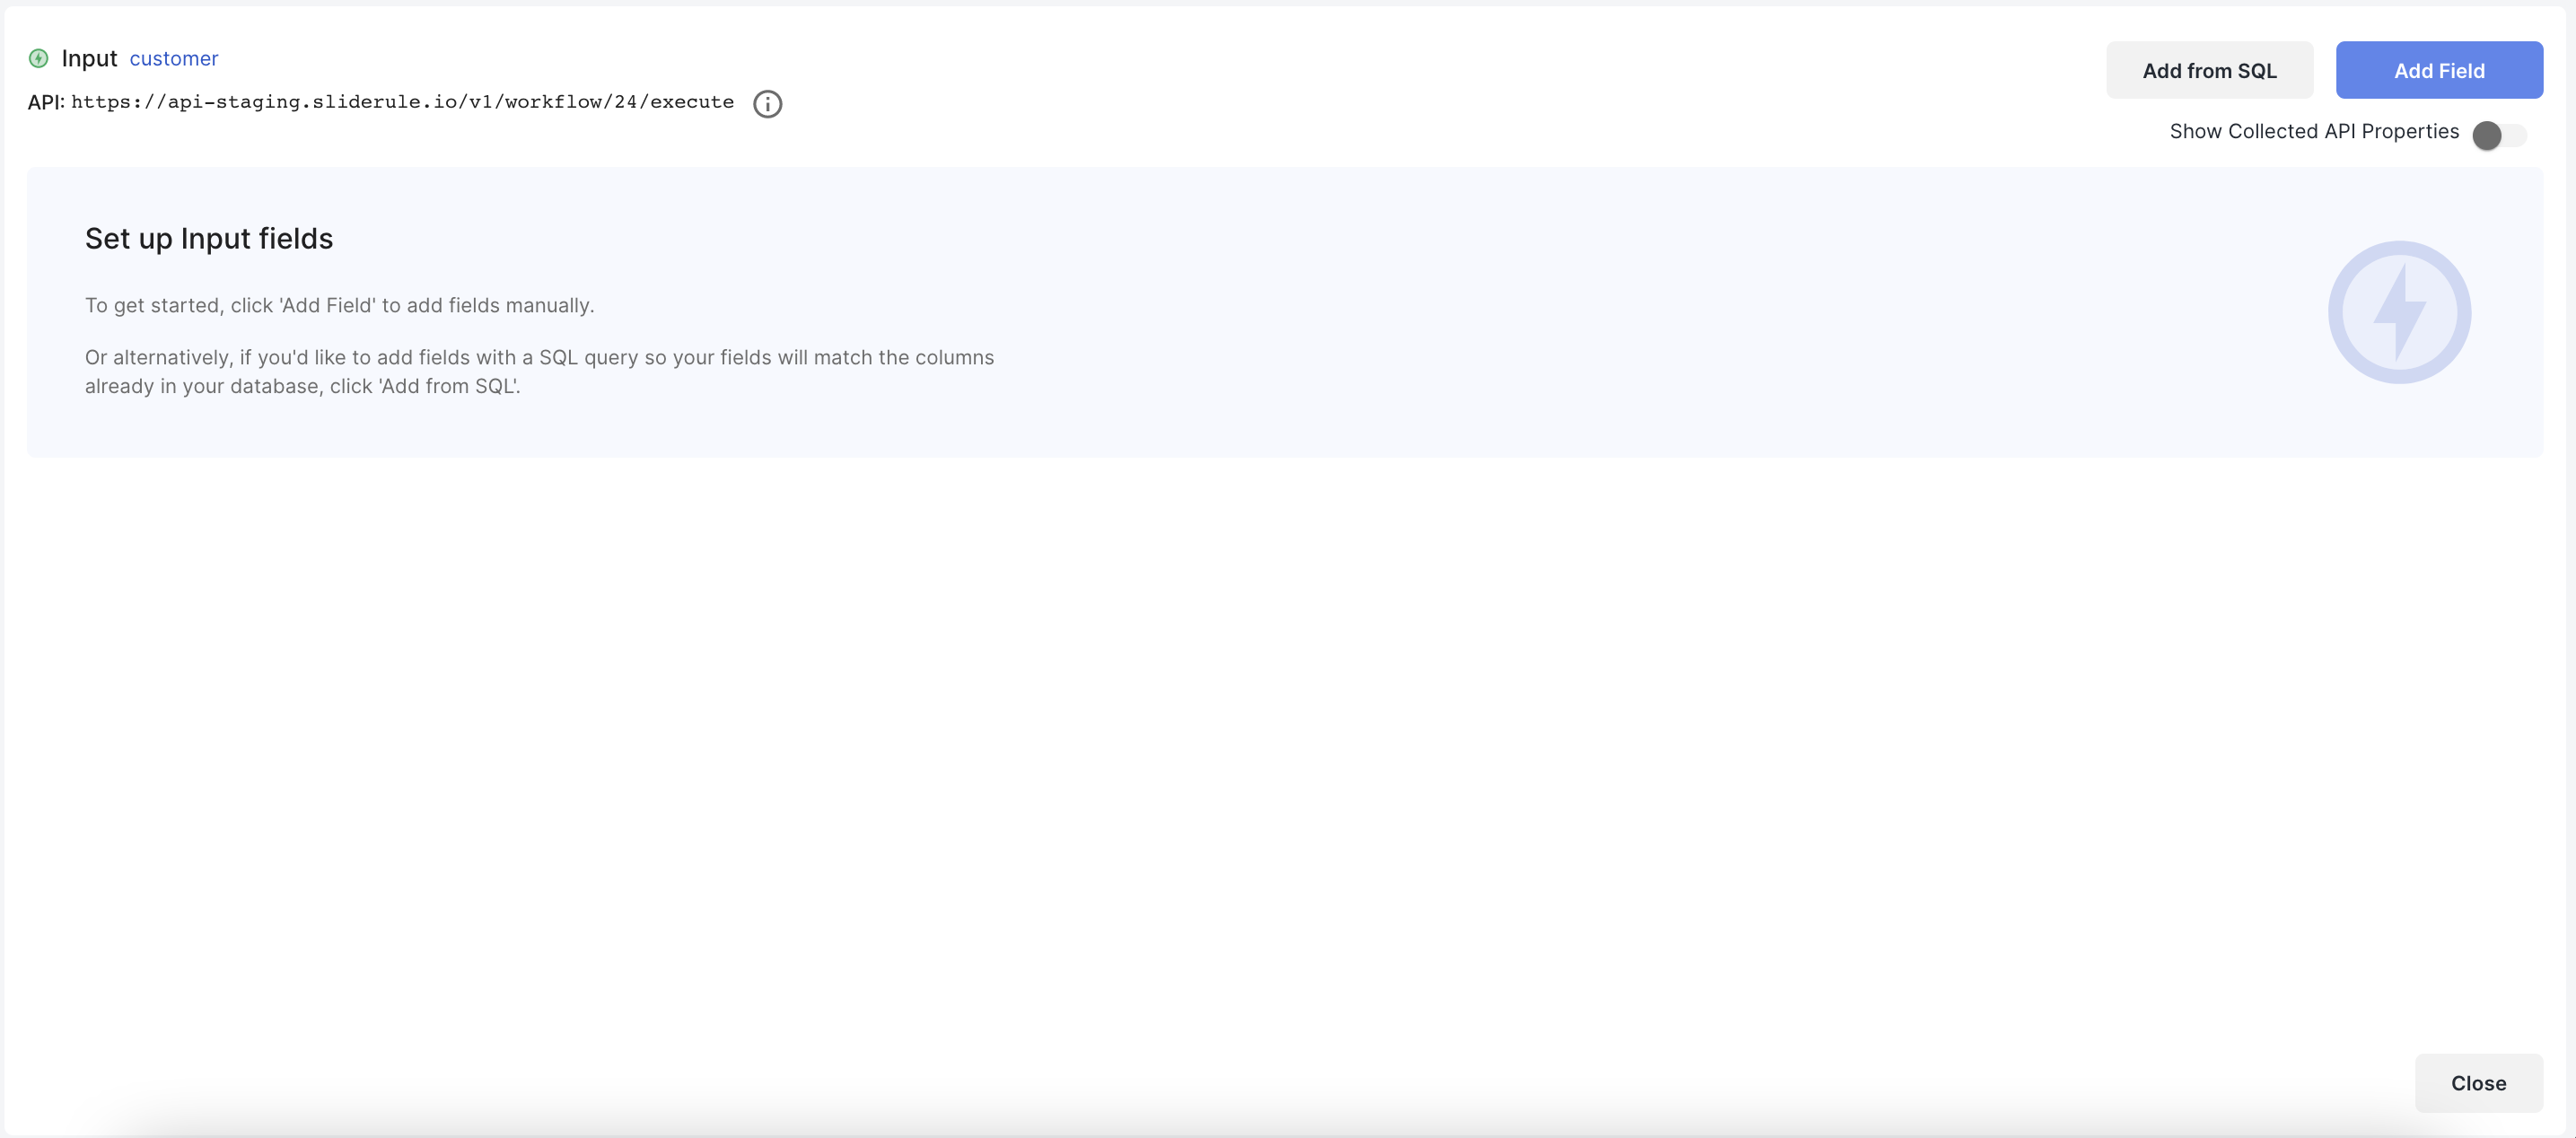
To get started, click on the Input block on your graph. You'll need to set up the Input fields that this Workflow is expecting, so you can start using them in rules. You can do this with a SQL Query if you want, but for now let's do this manually.
Let's add a new field, called bank_balance. Click Add Field, then give your new field a name, and select Number as the Type and click Save. You can use the pencil icons next to any field in the table to edit the field in the future. For now, just click Close to exit the Panel and return to the main Graph.
Add your first Logic Block
Drag a Ruleset Block from the Blocks drawer out onto the Graph. Wait for the Drop Zone to appear, and drop your Block there. Then give it a name, for example New Rules
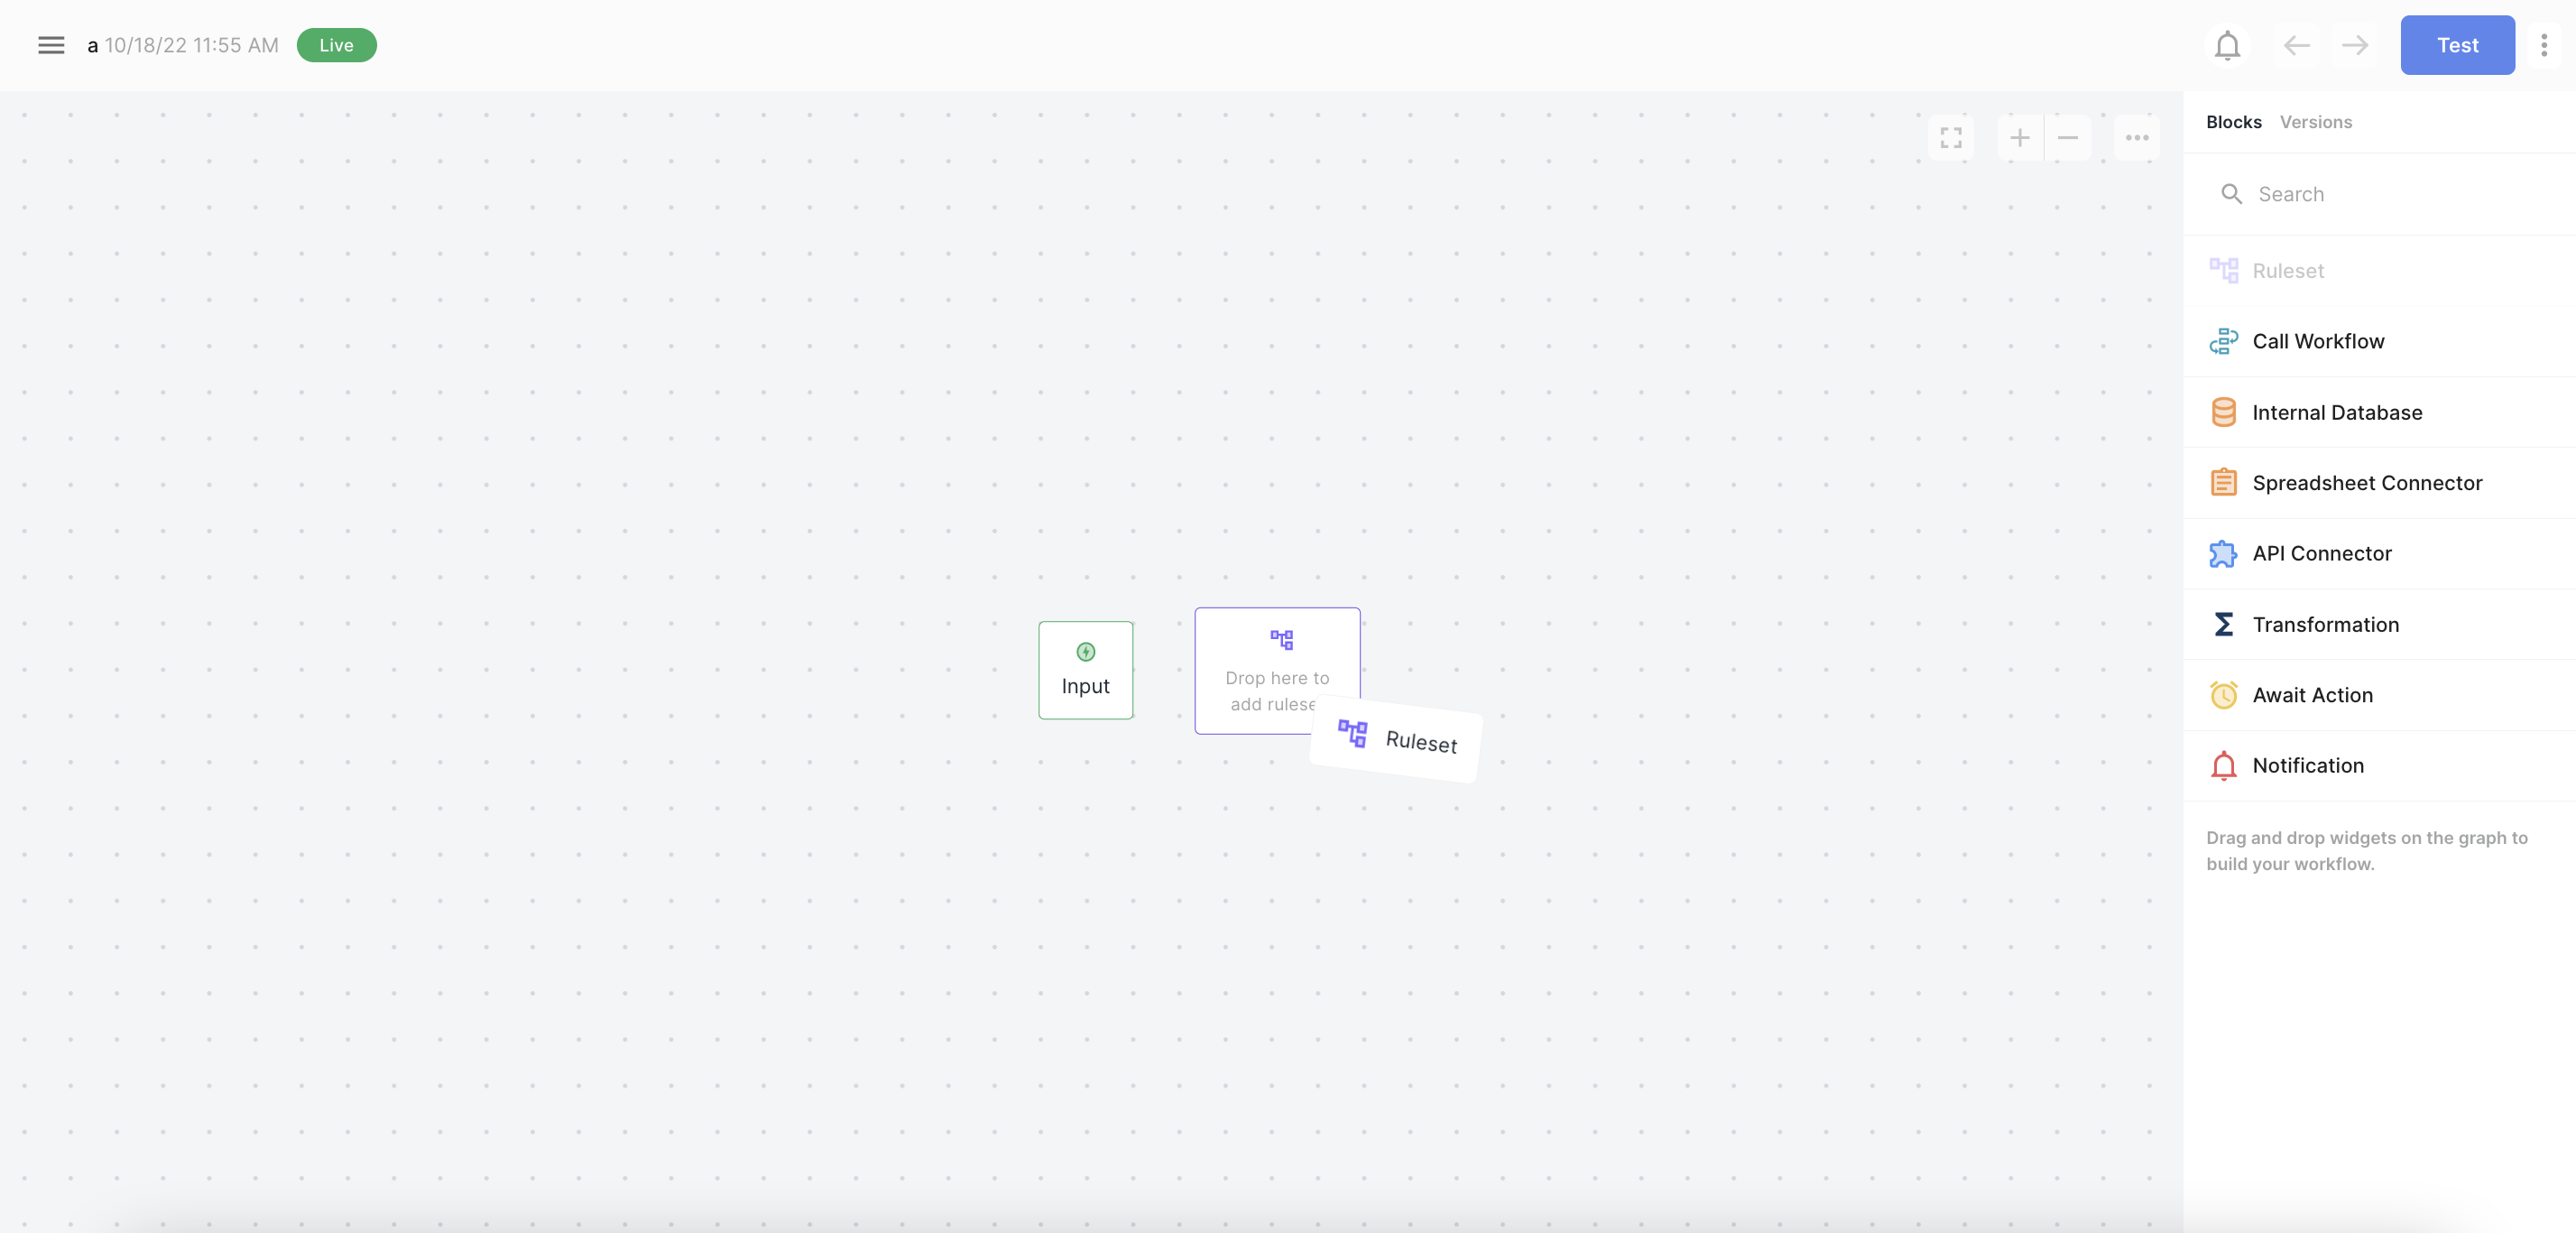
If you miss the Drop Zone, you can also drag a path from the Input Block to the new Ruleset once its on the Graph. Hover over the exit handle from the green Input Block, and drag a new line to the left hand side of the new Ruleset.
Add your first Rule
Click on your Ruleset to open the Panel. Click Add New Rule, and give your new Rule a name. Choose If/Then Rule as the Type, and click Save.
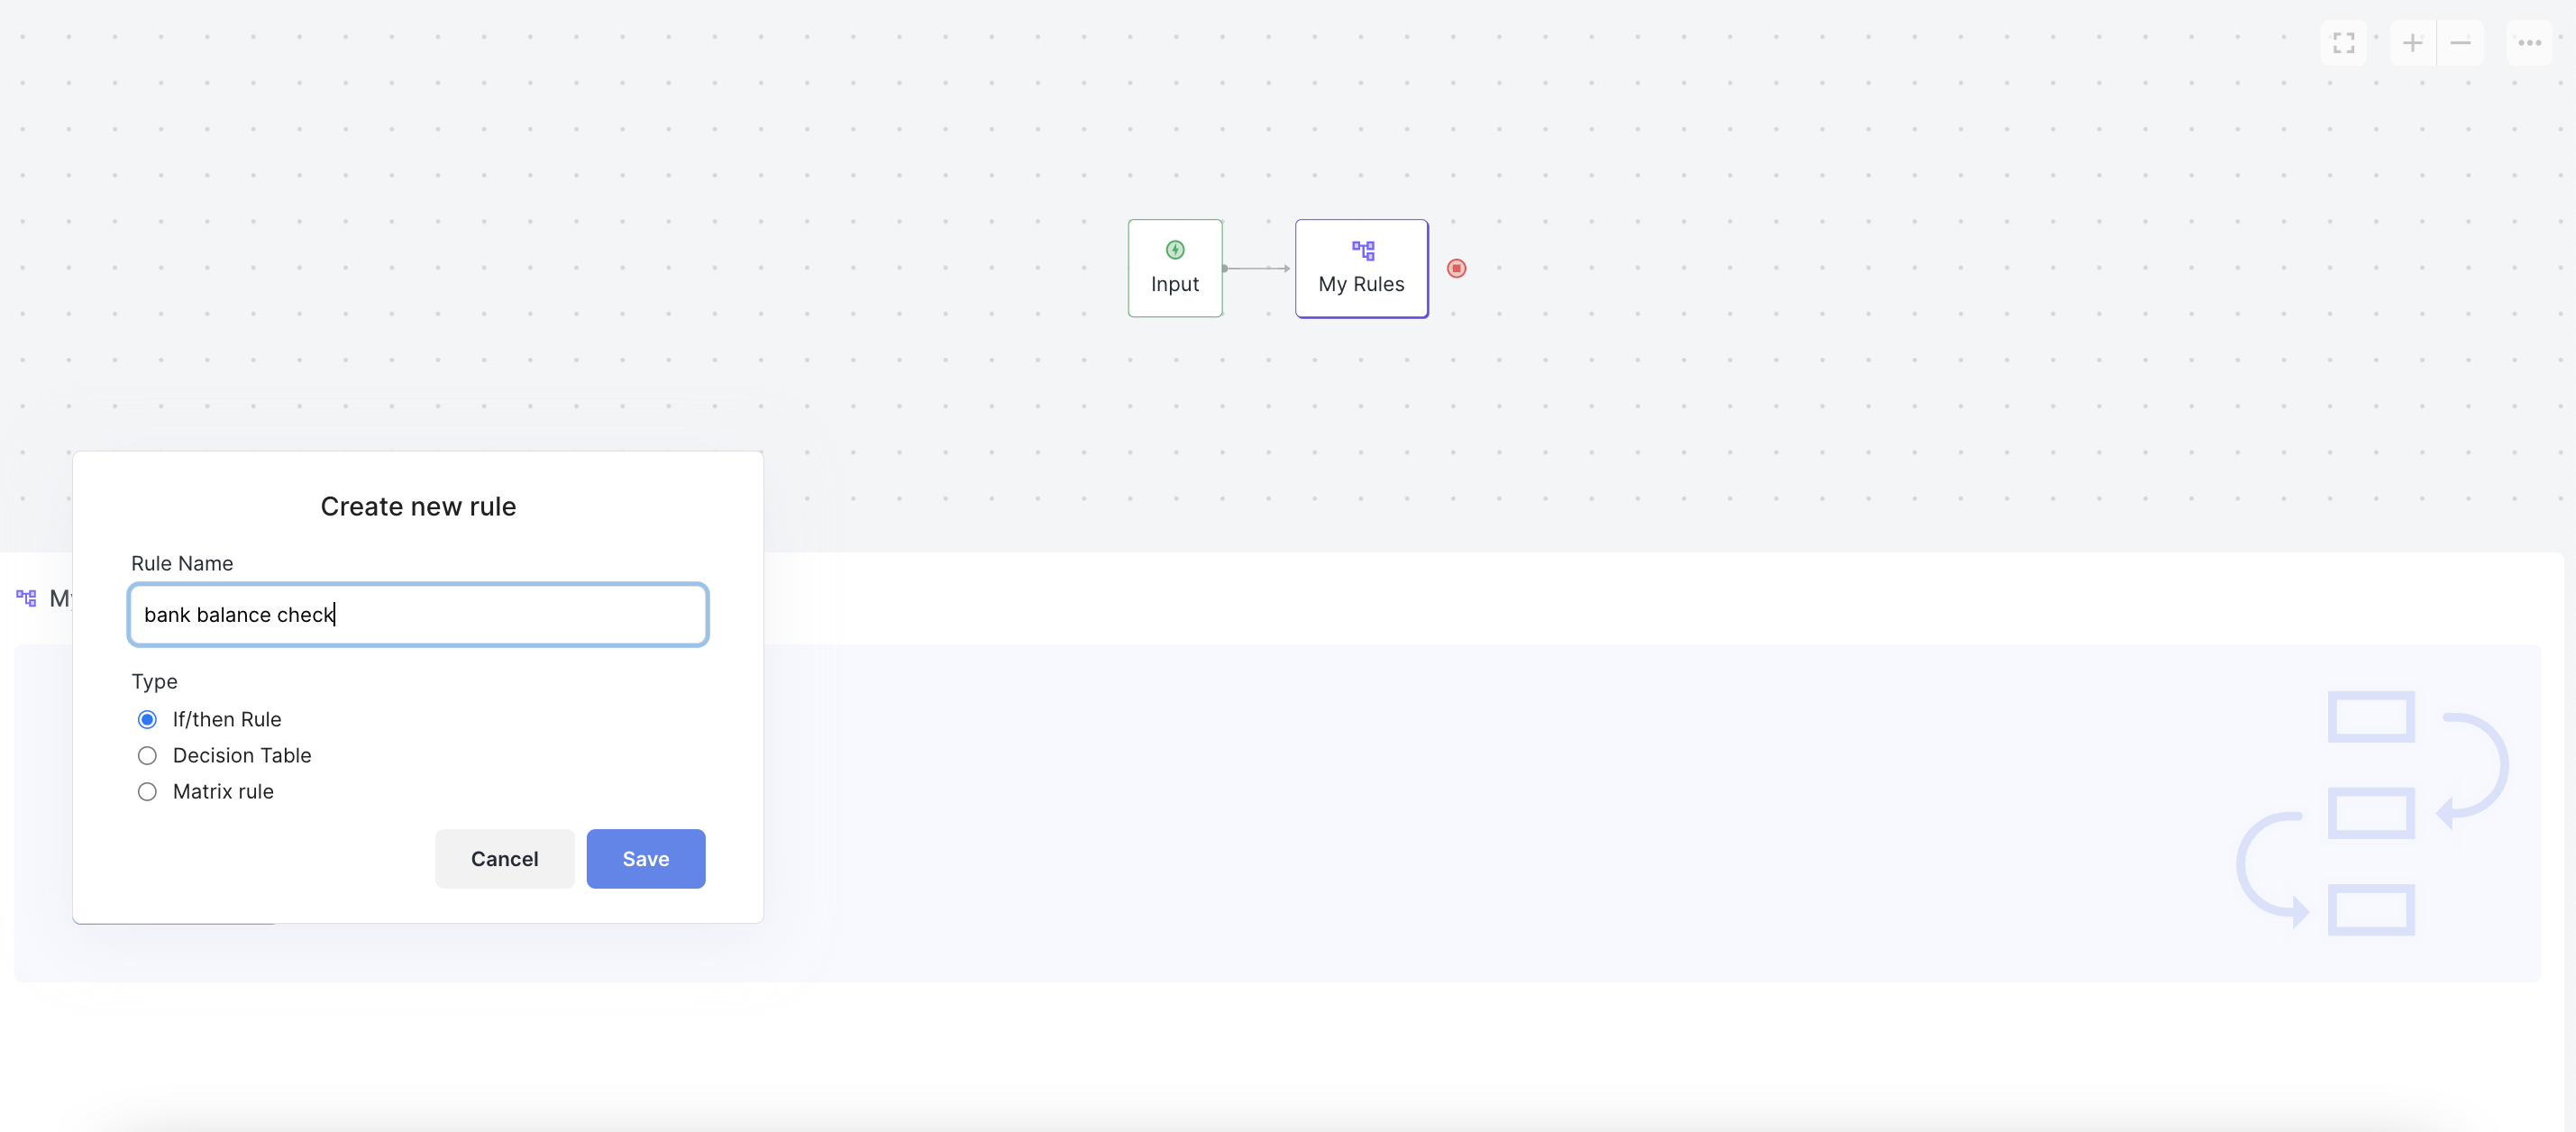
In this rule type, you can set "if" conditions that will trigger the "then" action to run. Begin typing customer in the "if" field to see the available fields - any of the fields from your Input block should be available here.
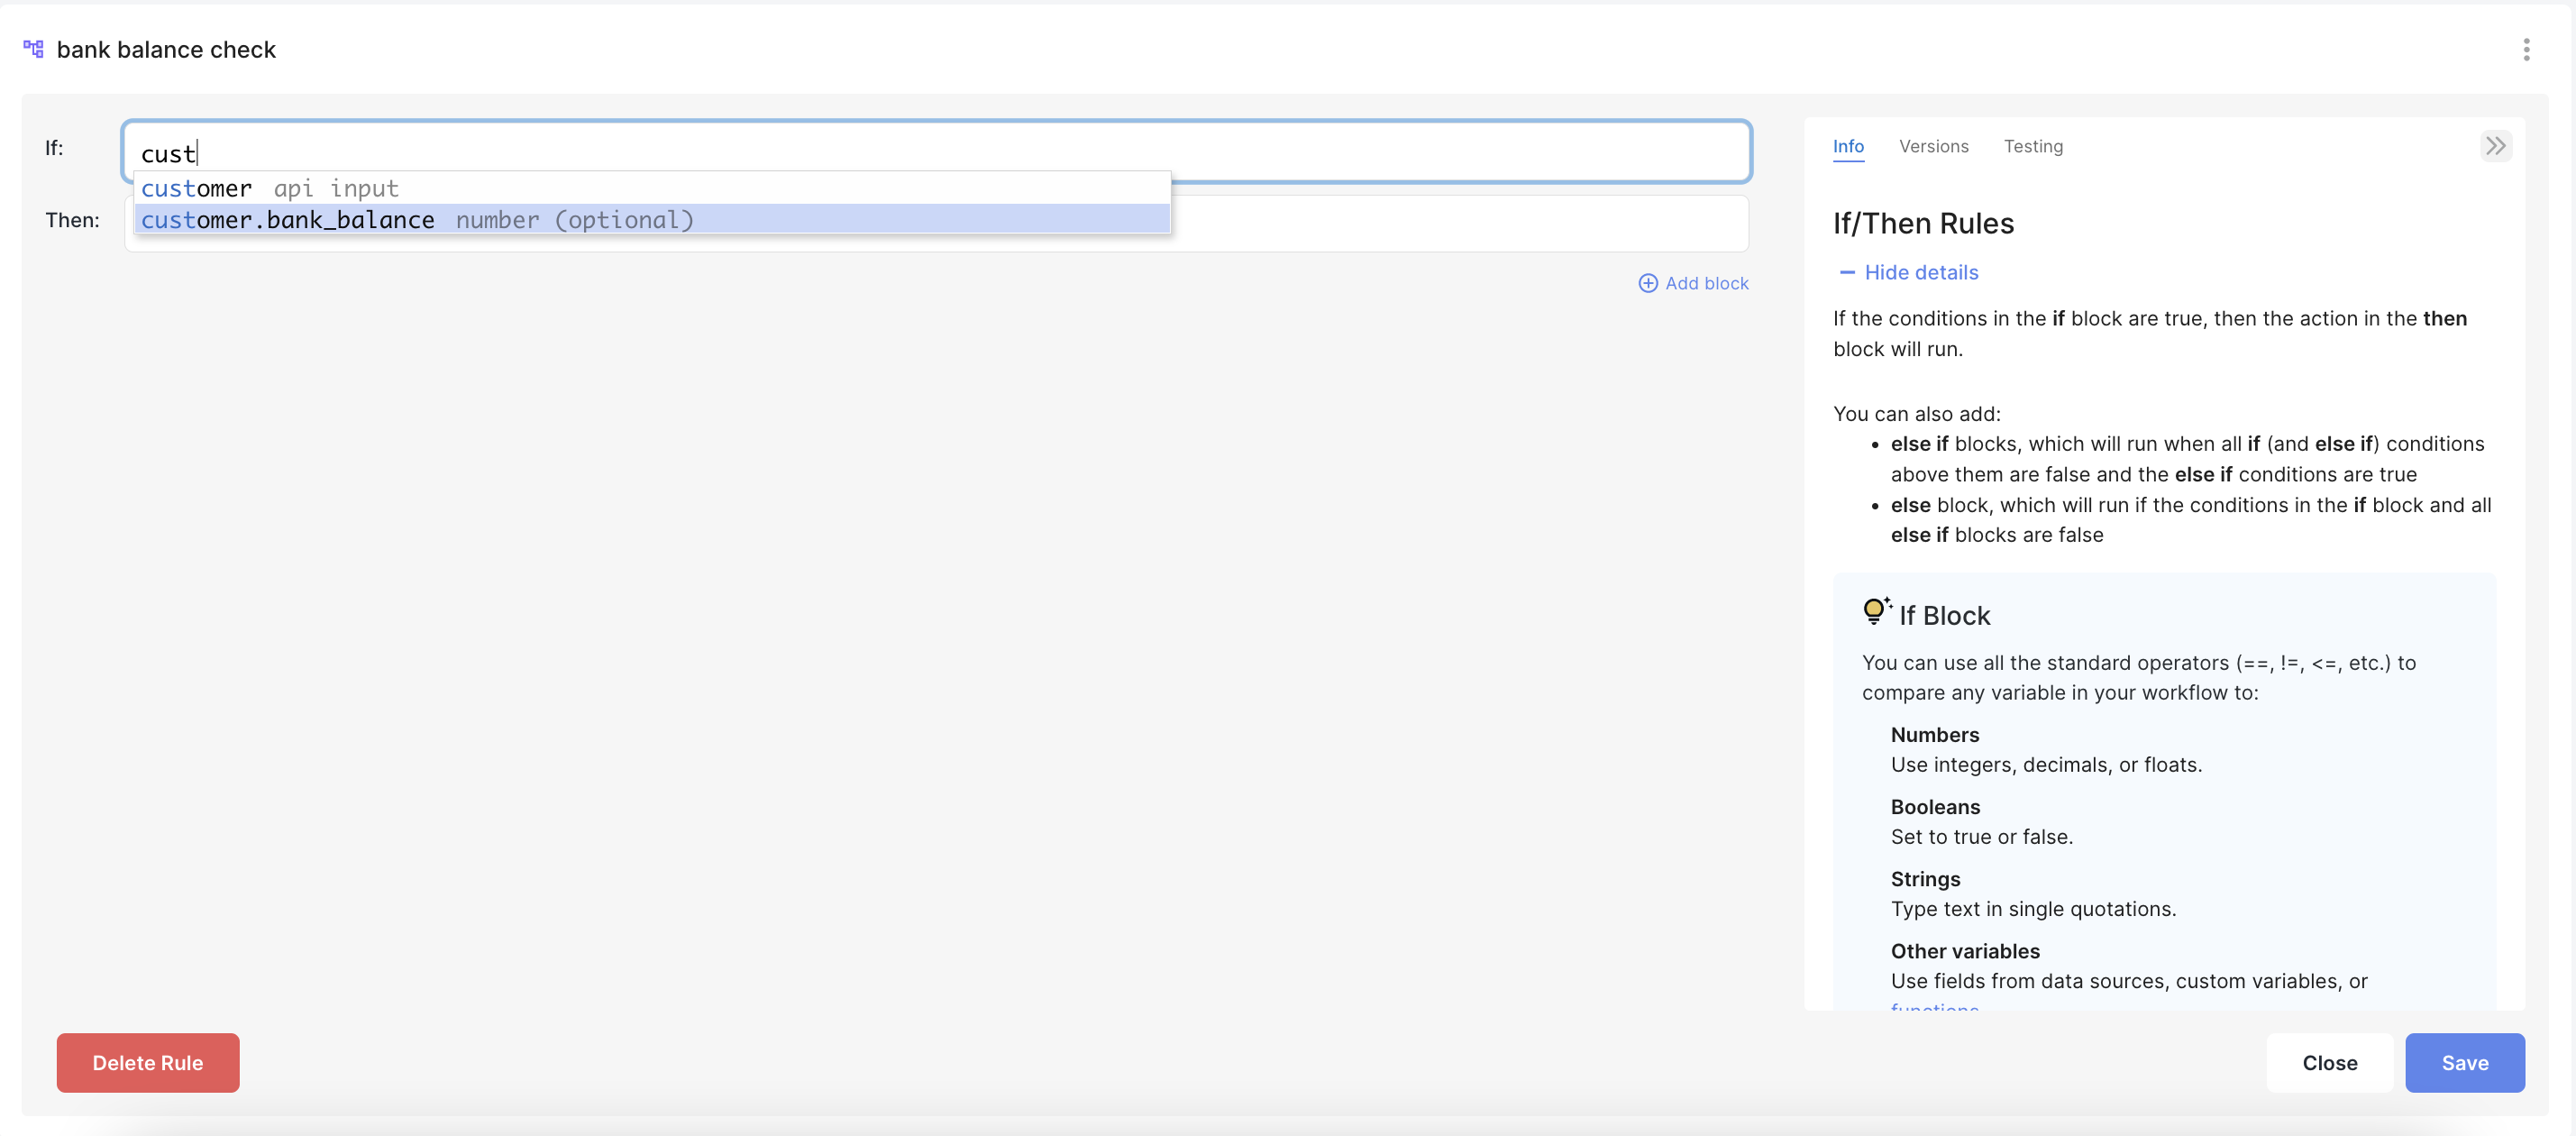
Let's choose customer.bank_balance and write our first if statement. We can use comparisons (<,>, =, !=) as well as logical operators (AND, OR, parentheses) to write simple Excel-style logic. See Data, Fields, and Comparisons for more options. Try writing a rule similar to what you see below.

When everything looks good, click Save and give your first version a name. Every change to a rule is tracked as a new version, so you can always jump back to old versions from the Versions panel on the right.
🎉 Congrats! You just made your first Rule, in your first Workflow!
Updated about 1 year ago